

Once upon a time, you could mine bitcoin with your home computer. If you have looked into the possibility of mining bitcoin today, however, you have likely found that it now requires downloading a full bitcoin node, finding the right mining software and a good mining pool, and investing in an ASIC mining rig.
Maybe it is time to look at a simpler way to mine that does not involve bitcoin at all. You may find it easier to mine Vertcoin instead.
Vertcoin has created a 1-Click miner that makes mining easy, and you can use it with any Windows PC that has a fairly good graphics card.
This guide takes you step-by-step through the process of downloading and installing the Vertcoin 1-Click miner and then getting it running.
Step 1: Download and Install Vertcoin 1-Click Miner
Get started by going to the official Vertcoin site to download the 1-Click miner by simply clicking the button that says “Download One-Click Miner.”
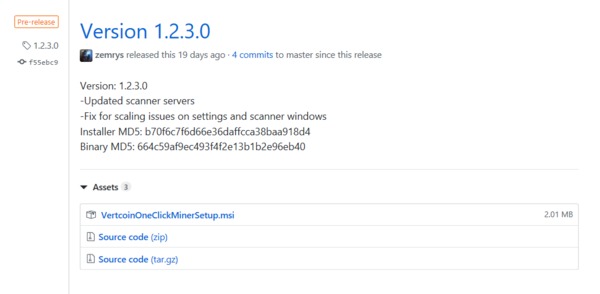
This will take you to the Vertcoin Github page to download the miner.
Click the link that says “VertcoinOneClickMinerSetup.msi”
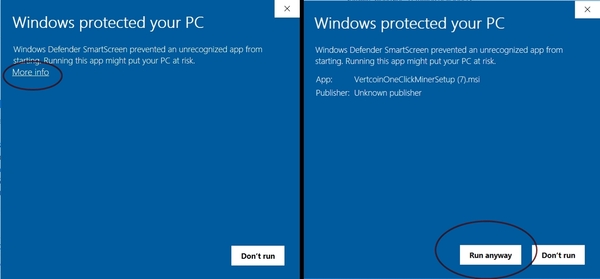
You may get a warning from Windows that Windows Defender is blocking the download. If that happens, click for “More Info” and then click the button to “Run Anyway.” You may also need to add an exception to your anti-virus program to install 1-Click Miner.
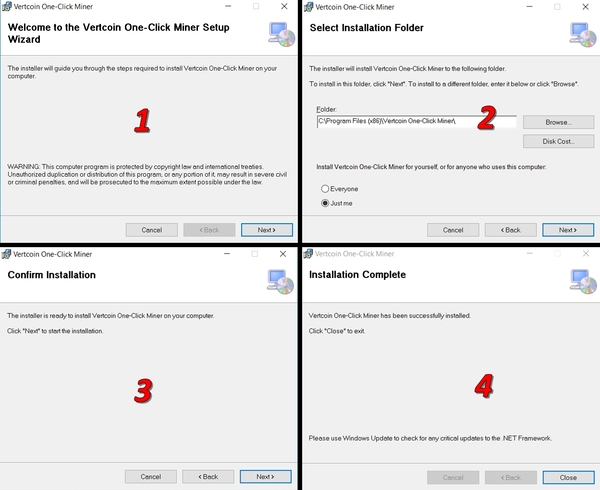
Once the program has downloaded, you’ll want to install it. You can choose to “Run” from the download dialogue, or if you’ve saved the file, you’ll want to double click it to begin the installation process.
You’ll be presented with several screens during the process and you’re just going to click “Next” on each screen until the installation has finished and you can click “Done.”
Step 2: Connect to a Mining Pool and Link Your Wallet Address
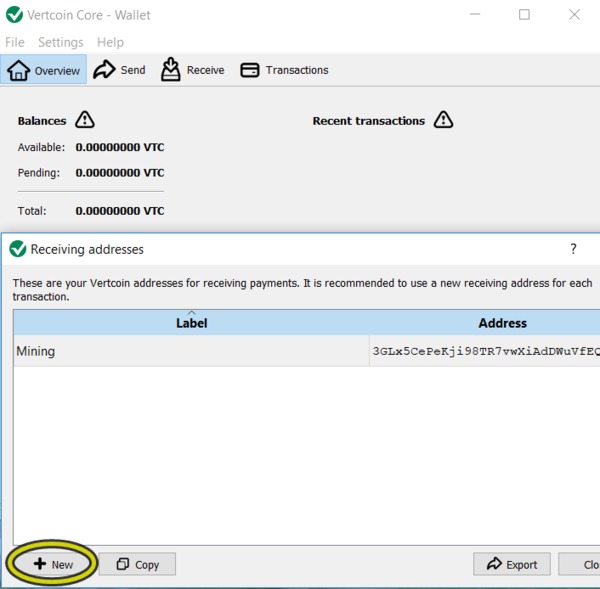
If you don’t already have a Vertcoin wallet, begin by downloading Vertcoin’s core wallet from the official website. You can find your receiving wallet address by clicking File-> Receiving Addresses, and then clicking “New” in the lower left corner to get a new address.
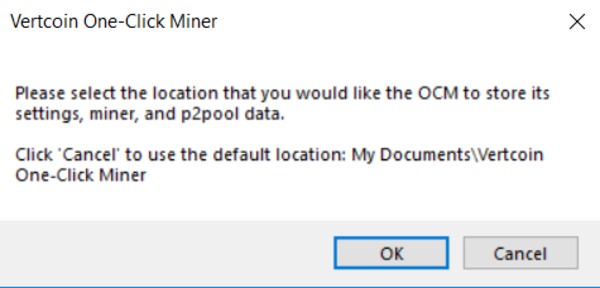
Open the 1-Click miner application. The first time you open it, you may need to add an exclusion to your anti-virus if it quarantines the file. Also, the first time you open the application, it will ask you to select a location to store data. You can click “Cancel” to use the default location.
Once the 1-Click miner opens, click the button on the right that says “Find P2Pool Nodes” to find a mining pool. It will open the P2Pool Node Scanner. Click the “Scan” button and the scanner will begin looking for nodes.
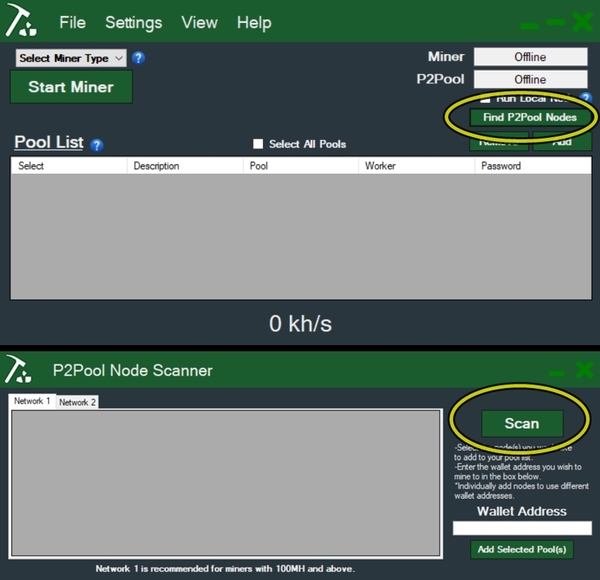
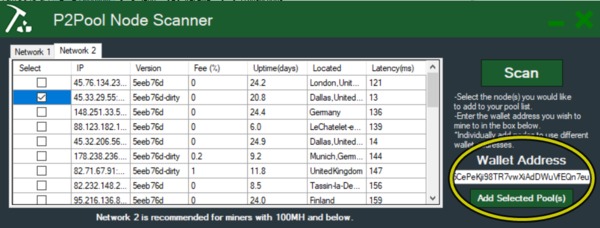
In less than a minute, you’ll see a list of nodes from which you can choose. Those mining with their GPU should choose a node from Network 2. Choose a pool that’s close to your location with a low latency, but also with a low fee.
This is also where you’ll put in the wallet address you got earlier. Click to add your selected pool(s).
Step 3: Start Mining
Now that you have a mining pool and wallet address connected to your 1-Click miner, it’s time to start mining Vertcoin.
First, choose the miner type in the upper left corner – either Nvidia or AMD based on which video card you have in your PC. Check the pools you want to use and click “Start Miner.”
The miner setting will change to “Waiting for Share” or “Running” and you should see your hash rate at the bottom of the miner.
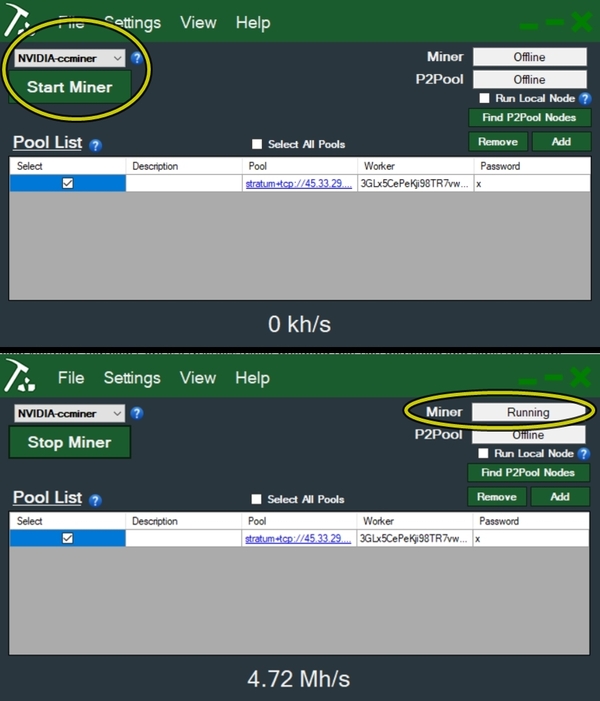
Now you’re mining Vertcoin! Simple, huh?
Subscribe to the Bitcoin Market Journal newsletter to receive all our newest great step-by-step guides.
