

This post discusses everything you need to know about mining Ethereum Classic, but before we move on, let’s review a brief history on the Ethereum Classic blockchain.
In June 2015, a DAO hacker made away with millions of ETH off the Ethereum block and this caused a lot of stir among developers on the then Ethereum blockchain.
Some developers were in favor of hard forking the code, while some saw it as a maximum breach in the “code is law”. The developers in favor of the hard fork went on to build the Ethereum blockchain as we know it today, while also retrieving all the funds stolen during the hack. The other set of developers kept on running the existing Ethereum blockchain, which is Ethereum Classic as we know it today.
A Word about Crypto Mining in General
What does mining digital currencies entail?
In laymen’s terms, crypto mining refers to the use of CPU, GPU, or ASIC processing power for hashing blocks and verifying transactions on a blockchain. This action is usually done for a reward in the particular blockchain’s token.
It is also worthy of note that mining is done solely on computing power, the type that comes from different kinds of hardware. Using CPU to mine is only effective when dealing with small-cap coins or new Proof of Work (PoW) coins. GPUs and ASICs are the most relevant types of hardware available for people who want to mine on large-cap coins.
What You Should Know about Mining ETC
Mining Ethereum Classic (ETC) is fairly easy when compared to mining other digital currencies, but there are still several things you need to know and put in place before you start mining. This includes the types of hardware to buy, mining software to install, and more.
The network difficulty for mining Ethereum Classic is quite low, so miners popularly make use of GPU mining hardware, rather than ASIC rigs. Ethereum Classic remains one of the most profitable coins to mine currently.
Here’s an overview of the steps to mine Ethereum Classic:
- Install your mining hardware and set up your computer.
- Sign up or install an ETC compatible wallet.
- Join a mining pool.
- Start mining.
Let’s look at the steps in details.
Step One: Choose and Install Mining Hardware
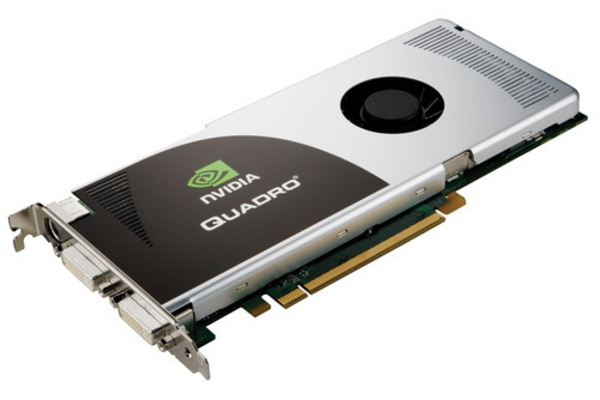
Your mining hardware could be CPU, GPU, and ASIC. For mining Ethereum Classic, it is advisable to make use of an AMD GPU or higher-end Nvidia graphics cards for suitability purposes.
The card should have a minimum of 4 gigs RAM. You will also need a stable power supply system; getting a high-end power cable would be a good move.
To install your hardware, visit amd.com, then choose “Support & Drivers”. Enter your GPU information and click “Display Results”. Click download for the current driver. After downloading, install your hardware normally and then reboot your computer.
Step Two: Get an ETC Wallet
After installing your hardware, you will need to get an ETC-compatible wallet. Examples include Coinomi and Exodus wallet.
You will also need to download Claymore Miner; download it from the Google or Mega download links.
Step Three: Join a Mining Pool
The next step to take is to join a mining pool. Solo mining is achievable, but with much less reward. So, most miners prefer to join a mining pool and pay a fee of about one percent for the services that they receive. There are quite a number of them from which to choose, but Nanopool and Ethermine are two of the common ones.
The Quick Start button under Ethereum Classic on Nanopool.org is an ideal starting point in joining the mining pool. On clicking, you will be presented with a set of instructions where you’ll select your appropriate mining hardware. A button then leads you to GitHub, where you will download, extract, and install the appropriate software for your setup.

Depending on whether you’re using the Nvidia or AMD card, you’ll be presented with either the FinMiner or Claymore Ethereum Dual Miner respectively. Claymore Miner is more versatile and works on both cards. It is preferred by most users.
Returning to the Nanopool Quick Start menu provides the option where you can generate a configuration file where mining parameters are inputted.

Step Four: Start Mining
After going through all the instructions above, the next step is to start mining. Run the setx commands, initialize each of your GPU’s, build the DAG file on each of your GPUs, and start hashing away. Let it run for about 20 seconds and then click “s” to display your Hashing speed. Now, you’re mining Ethereum Classic!
To find out more about mining or investing in digital coins, take a moment today to subscribe to the Bitcoin Market Journal newsletter, where you can keep your finger on the pulse of the digital asset revolution!
