
The process of mining Ethereum is almost identical to the way bitcoin is mined, apart from the different mining algorithms that are used between Ethereum tokens (Ethash) and bitcoin tokens (SHA- 256). Both algorithms still reward the first miner that is able to solve the equation, which will then produce a new block that will be added to the overall blockchain.
In simple terms, mining Ethereum essentially requires you to trade your electricity and computing power in exchange for Ethereum tokens. The more electricity and computing power you are able to allocate for money, the more Ethereum tokens you are able to mine.
Here are the basic steps to take to mine Ethereum.
Step One: Set up a crypto wallet
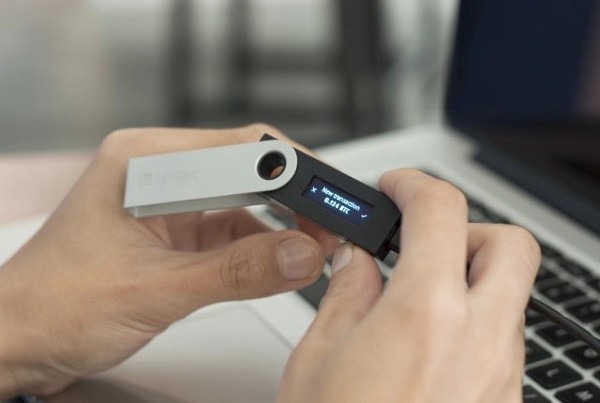
First things first, you need to start by setting up a crypto-wallet to receive your mined Ethereum. There are many different wallets from which to choose. There are hardware wallets, mobile wallets, desktop wallets, and online wallets.
Although desktop, mobile, and online crypto wallets are accessible and convenient to use, hard wallets like Ledger or Trezor are the most secure option of keeping your Ethereum.
Once you’ve got your crypto-wallet and your wallet address, you can start receiving and sending Ethereum, and you can begin mining.
Step Two: Choose your mining method
You have three options for mining Ethereum
- Solo mining
- Pool mining
- Cloud mining
Here’s a look at all three to help you decide.
Solo mining:
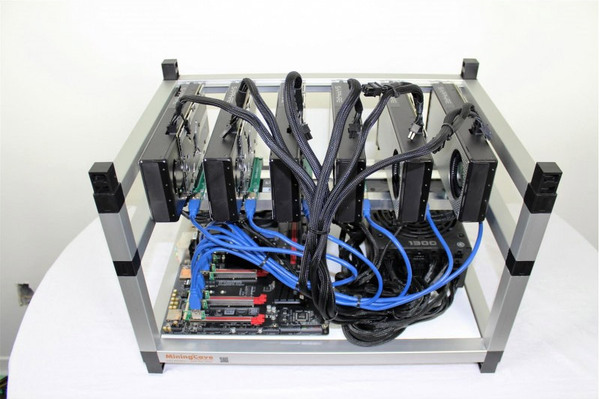
For a solo mining operation, you will need a powerful graphics card (GPU) and an Ethereum mining software. Some miners run their mining operations with multiple GPUs simultaneously.
In terms of software, Claymore’s dual Ethereum miner is compatible with both AMD and NVIDIA GPUs and has been well received among the mining community for its low fee and potential to mine different types of tokens in addition to Ethereum.
All you need to do to start mining is to install the mining software, and key in your email and wallet address to start mining.
Mining alone may sound like a good place to start. After all, mining on your own will most likely give you the highest payout out of the three options. But it is not without a few risks that you should be aware of before taking on such an operation.
As the size of the blockchain continues to grow each day, the amount of processing power needed to mine more tokens will grow as well. As a solo miner, this means that you will need to upgrade your mining hardware on a regular basis to continue mining at the same rate as you did when you started.
Many people doubt the profitability of a solo mining operation due to the fact that the cost of electricity and the risk of overheating your GPU can end up being costly and eat into your profits over time.
Your GPU will have to be constantly mining 24/7 without the guarantee that you will end up mining the necessary amount of Ethereum that will cover your electricity cost.
Pool Mining:
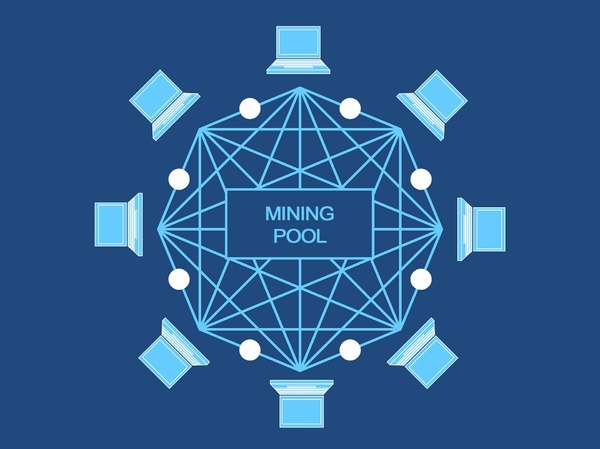
Pool mining is when a group of people chooses to leverage their collective computing power to mine Etherum. All the tokens which are mined are then distributed among each of the participants within the pool.
Combining your computing power with everyone participating in the mining pool can greatly increase your chances of earning Ethereum.
There are many different mining pools that you can choose from online, each with their own unique ways of setting up and joining. Some mining pools sell you mining contracts over a specified amount of time, while others ask you to download their mining software and keep your computer running to contribute your computer’s energy and processing power.
The process of pool mining isn’t that much different from how you would approach a solo mining operation. You set up your equipment, download the required software, key in the necessary details (wallet address and email), and start mining.
Some popular Ethereum mining pools that you can check out are Ethpool and DwarfPool.
Cloud Mining:
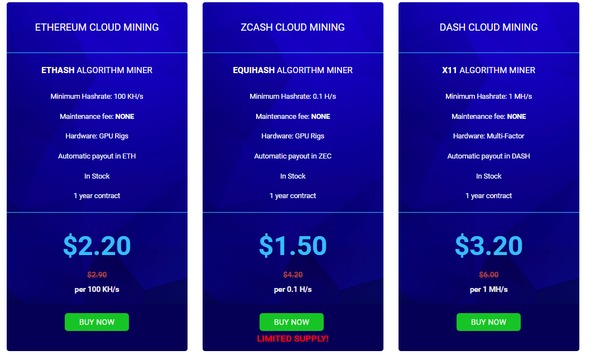
Cloud mining is a way of renting out someone else’s computing power to mine Ethereum. Essentially, you would be using someone else’s hardware, but the tokens that are mined would be sent directly to you.
There are many platforms from which to choose that enable you to buy contracts that will give you a certain amount of hash/hashrate, which refers to the amount of output and speed at which a computer is completing an operation in bitcoin or Etherum code for mining.
The upside to cloud mining Ethereum is the fact that there is no hardware that you need to maintain. This means that the risk of paying for GPU maintenance and upgrades, or even absurd electrical bills, are things about which you won’t need to worry.
Some popular and easy-to-use platforms for cloud mining are Hashflare and Genesis Mining.
Step Three: Store your Ethereum somewhere safe
Once you mine your Ethereum, it is important that you have a safe place to store it. Online wallets are one of the most dangerous places to store your Ethereum and other cryptocurrencies; the same goes for crypto-trading platforms where you use an online wallet to make trades.
Hardware wallets like Trezor or Ledger are small devices that can store your crypto in an offline capacity, which makes it impossible to hack from the internet.
For more information about digital currencies, subscribe to the Bitcoin Market Journal newsletter and stay in the loop with the latest news and trends!
