Monero is an interesting privacy-focused coin that is preferred by many for mining because of its combination of anonymity protection and its commitment to remain resistant to ASIC mining. In fact, the Monero developers forked the coin in 2018 to keep it ASIC resistant, moving from the CryptoNightV5 protocol to the CryptoNightV7 protocol.
This guide will give you the proper steps to easily mine Monero from your home computer, without any special hardware. The only software you’ll need is the official Monero wallet, and getting everything set up and running is neither tech-intensive nor time-consuming.
Why Mine Monero?
There are so many altcoins available for mining, so why choose Monero? Well, the first perk is the above mentioned ASIC resistance that allows you to mine with your computer. In fact, the CryptoNightV7 hardfork occurred specifically because an ASIC rig was released that could mine Monero.
Next, the CryptoNightV7 algorithm has been optimized for CPU mining. That is unique among altcoins, with most depending on GPU mining or ASICs.
Last of all, Monero is a popular altcoin in its own right. It sits in the number 13 spot in terms of market capitalization, and has a current value of nearly $50 per coin. It has gained its popularity because users appreciate the anonymity and privacy it affords.
Mining Monero with the Monero Wallet
The Monero wallet will allow you to solo mine the coin easily, with the functionality built right into the wallet GUI. And it’s quick and easy to get started.
While you won’t be as profitable when solo mining Monero, you will have fun and get some exposure to the mining process, and who knows, you might get lucky and mine a block on your own. Usually, you’ll just be helping to secure the network though, and learning about cryptocurrency mining. It’s possible you’ll be intrigued enough to move into mining other coins or building your own mining rig.
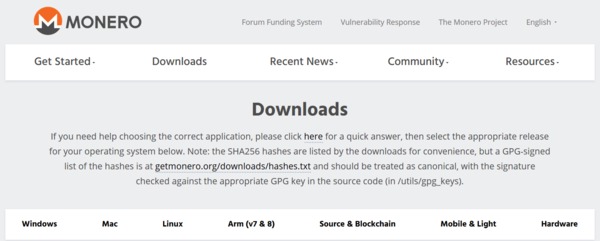
The first thing you’ll need to do is head over to the official Monero site and download the Monero Wallet. It’s available for all major operating systems (Windows, Linux, OSX) and several minor operating systems as well. Find the appropriate link for your computer and click it.

Once the wallet is finished downloading, it’s time to install it. The installation may need you to run as administrator (right click the monero-wallet-gui.exe file and choose Run as Administrator). Part of the installation process will generate your seed and address.
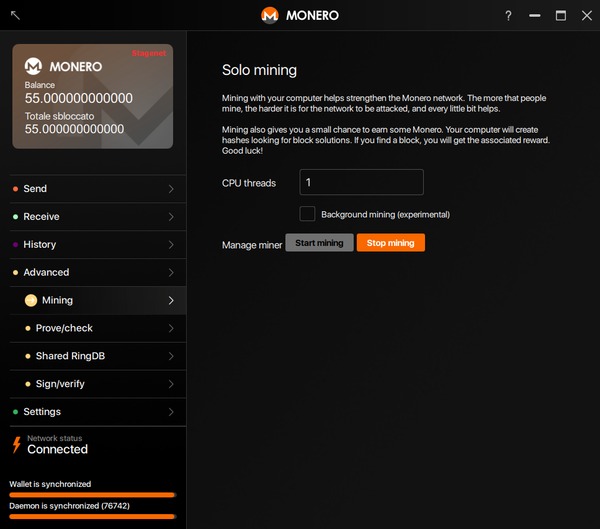
Once you have the seed and address, you can click on the Advanced tab and then on Mining.

Once you are here, you have the ability to change the number of cores you’re using to mine (#1), to enable background mining (#2) and to start (#3) and stop (#4) the mining process. The more cores you use, the greater your hash power will be, but you can’t enable more cores than your computer has. It’s usually best to leave at least one free core. You also want to be sure you have enough cooling for your computer if you plan on using the maximum number of cores, as your computer will be working very hard and generating a lot of heat.
Once you’re at this point, let the wallet synch to the blockchain and start mining. That’s all that needs to be done.
If you’re comfortable with this kind of mining, you might want to think about expanding your mining knowledge. Maybe you want to add more GPU cards to your computer, or even set up a computer specifically for mining and then using XMR-Stak to pool mine Monero – but that’s a subject for another guide.
If you don’t want to miss that guide, subscribe to Bitcoin Market Journal and get updates whenever we post new content.

